
 English
 中文简体
中文简体 Español
 English
 中文简体
中文简体 Español
Air Fryer Technique & Buying Guide
Roasting With a Touch Screen Air Fryer: What the Panel Actually Changes
The heating element decides whether a roast works. The touch screen decides whether you can repeat it next Sunday without re-reading the recipe.
A 4-pound chicken needs roughly an hour in a 5–6 quart basket at 360°F, plus a ten-minute rest before carving. That is the whole physics of the job. So the fair question is whether a touch screen — glass, icons, and soft menus instead of two cranked knobs — changes any of it.
The short answer: the panel does not roast the food, but it decides whether you can repeat a good roast. Three things separate a lucky first attempt from a reliable second one: holding 350–400°F precisely, staging a hot sear and a moderate finish in one run, and adjusting mid-cook without venting the basket's heat across the countertop. Dials can reach a temperature. Touch screens make the plan visible — and a visible plan is what most home roasts are missing.
Roasting Is a Temperature-Holding Job
Roasting is dry heat held steady long enough for the exterior to brown while the interior climbs to a safe core temperature. An air fryer does this with a dense heating coil and a high-speed fan, which is why a 360°F basket roast typically finishes 20 to 30 percent faster than the same cut in a conventional oven, and why fat renders into a tray below instead of pooling around the meat. The trade-off is a smaller, less forgiving cavity: a crowded basket blocks the very airflow the panel's numbers depend on.
The display is only as honest as the cabinet behind it. Even the sharpest LCD cannot fix a heater that swings 25°F between the back and the front of the basket, so it is worth understanding how an opaque touch screen control air fryer keeps heat even across a full load before trusting any of its readouts on a Sunday roast.
Info: Roasting and baking use the same dry heat in an air fryer. The working difference is the curve — roasts usually start hot for color (around 400°F) and finish moderate for doneness (350–360°F), a two-step plan a touch panel handles more cleanly than a dial.
Where Touch Controls Earn Their Keep During a Roast
Touch panels matter most in the first five minutes and the last five. At the start, a tracked preheat mode tells you when the cavity is actually at 400°F instead of guessing; at the end, a keep-warm setting holds the bird at a safe temperature without drying it out if dinner runs late. Between those bookends, the useful skill is staging:
- Preheat to 400°F and wait for the add-food alert before anything goes in the basket.
- Sear at 400°F for 8–10 minutes to set the skin and start browning.
- Tap the temperature down to 360°F without opening the basket — fan, heat, and timer all keep running.
- Confirm with an instant-read thermometer and pull the roast at its target temperature.
Step three is the one dials cannot match. Adjusting a knob mid-roast usually means pulling the basket, which vents heat and scrambles your sense of doneness; on a touch panel it is one tap, and many models pause the countdown automatically when the basket opens anyway. Presets deserve the same pragmatism: a "whole chicken" program is a starting point, not a verdict — it cannot see your bird's shape, its starting temperature, or how crowded the basket is.
A touch screen does not make the bird juicier. It makes the second roast identical to the first.
Warning: Glass panels read fingertips, not intentions. Rendered fat or damp hands make touches register late or not at all. Wipe the panel and your hands before adjusting a hot roast, and expect to press twice on budget models.
Roast Settings That Work, and What to Press
These baselines hold up in a preheated 5–6 quart basket fryer. Treat them as calibration points for your specific unit — then let the thermometer outvote the timer every time.
| Food | Panel temperature | Total time | What you press |
|---|---|---|---|
| Whole chicken, 3.5–4 lb | 360°F after a 400°F preheat | 60–70 min | Set 360°F / 60 min, turn at the halfway alert, add time in 5-minute taps if needed |
| Bone-in chicken thighs | 380°F | 22–26 min | Single stage; no sear needed, the fan crisps the skin on its own |
| Pork tenderloin | 400°F, then 375°F | 18–20 min | Sear 8 minutes at 400°F, tap down to 375°F for the remainder, pull at 145°F |
| Root vegetables (potatoes, carrots) | 390°F | 18–22 min | One setting; shake at the mid-point reminder for even browning |
| Salmon fillet, thick cut | 380°F | 8–10 min | No preheat; tap down 10°F if the glaze colors early |
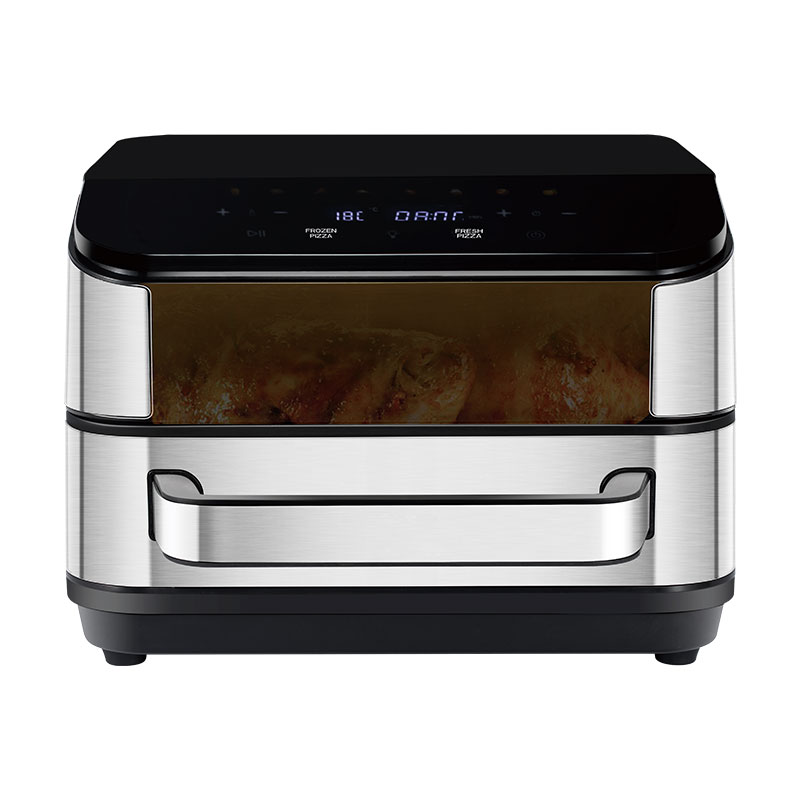
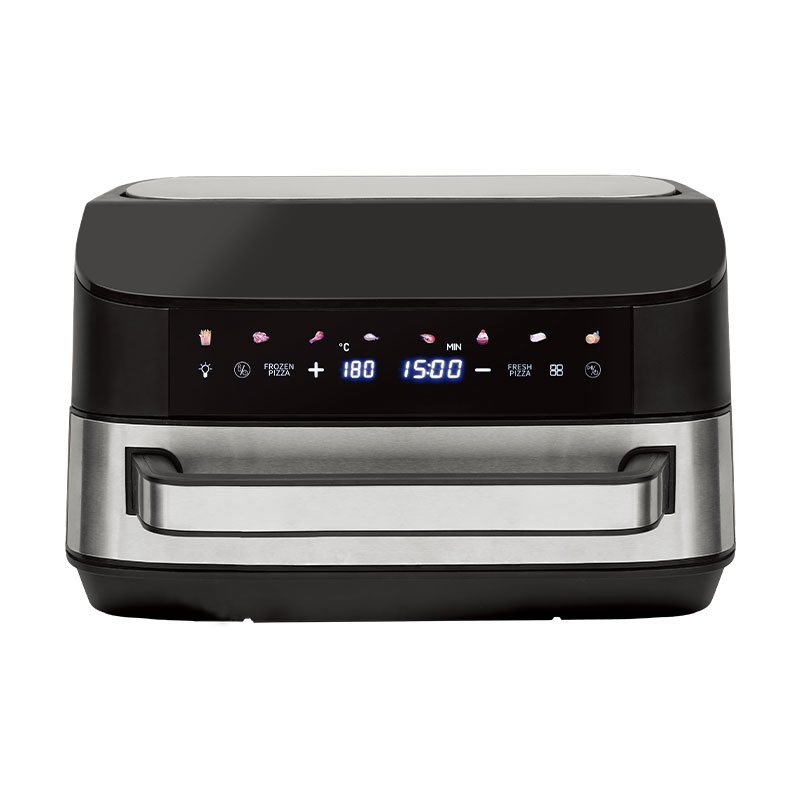
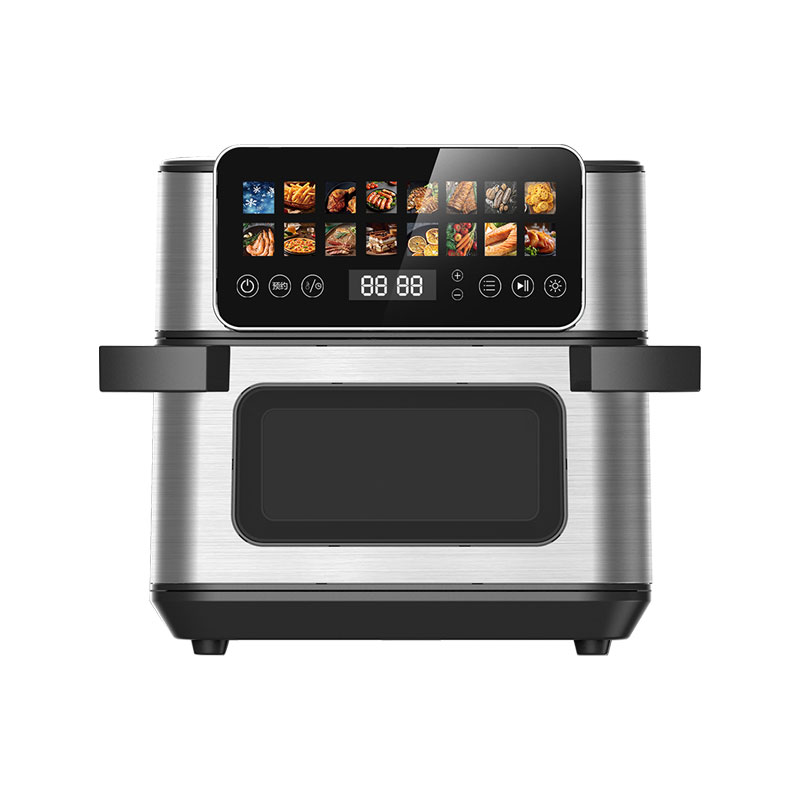
Capacity is the quiet variable underneath that table. A 5–6 quart basket handles a 4-pound chicken or a 2-pound pork tenderloin with air moving on every side; pack anything larger and the underside steams instead of roasts. For bigger birds and bone-in cuts, an oven-style cabinet is the honest upgrade — the 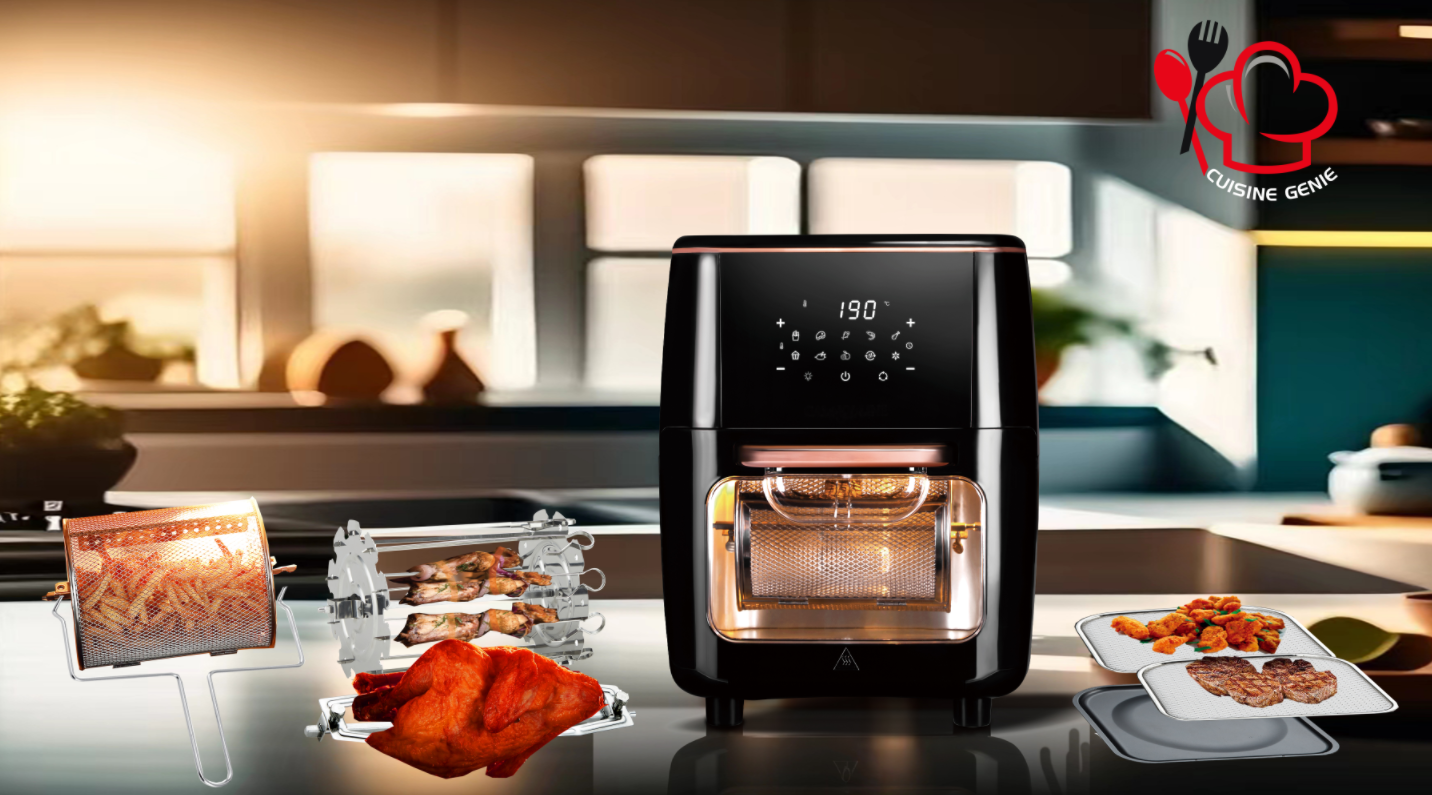 13L Air Oven for Whole Birds and Bone-In RoastsThis 13L cabinet air oven with 1700W heating, 40-200°C touch controls, and multiple rack positions suits larger cuts that need room for air circulation, addressing the steaming problem of packed baskets.View Product → adds the height and rack positions a whole bird actually needs, with the same touch-controlled temperature logic as a basket fryer.
Success: Pull poultry at 165°F (74°C) in the thickest part of the breast — thighs are better at 175°F — and pork at 145°F (63°C) with a three-minute rest. Carryover heat keeps working after the timer stops; chasing higher numbers on the panel is how roasts dry out.
Touch Screen Features Worth Checking Before You Buy
Spec sheets list dozens of panel features, but only a handful change roasting outcomes:
- 400°F maximum with 5°F steps. Roasting lives between 350 and 400°F; 10°F-only steps leave gaps in exactly the range you use most.
- A real preheat mode. Not just an icon — a tracked wait with an alert when the cavity reaches temperature.
- A countdown that pauses when the basket opens. This is what lets you turn a 4-pound bird at the halfway mark without losing the timer.
- A visible window. Checking color without venting heat matters more in roasting than it ever does for fries.
- Honest capacity. 5–6 quarts for weekly family roasts; anything smaller limits you to thighs and tenderloins.
- Dishwasher-safe basket and crumb tray. Roast drippings are the reason a "fryer" basket starts smelling like last month.
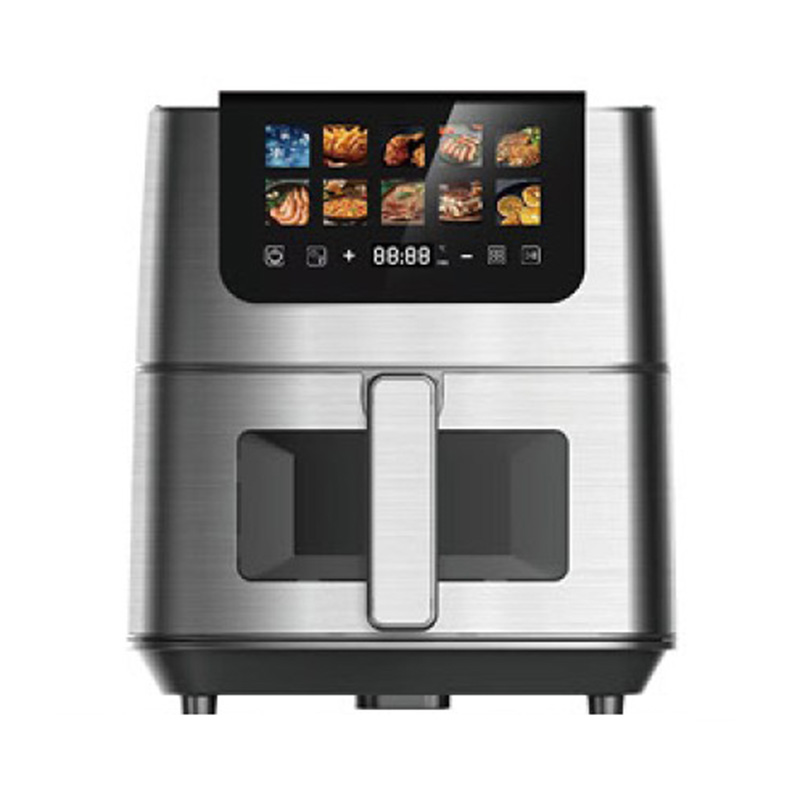
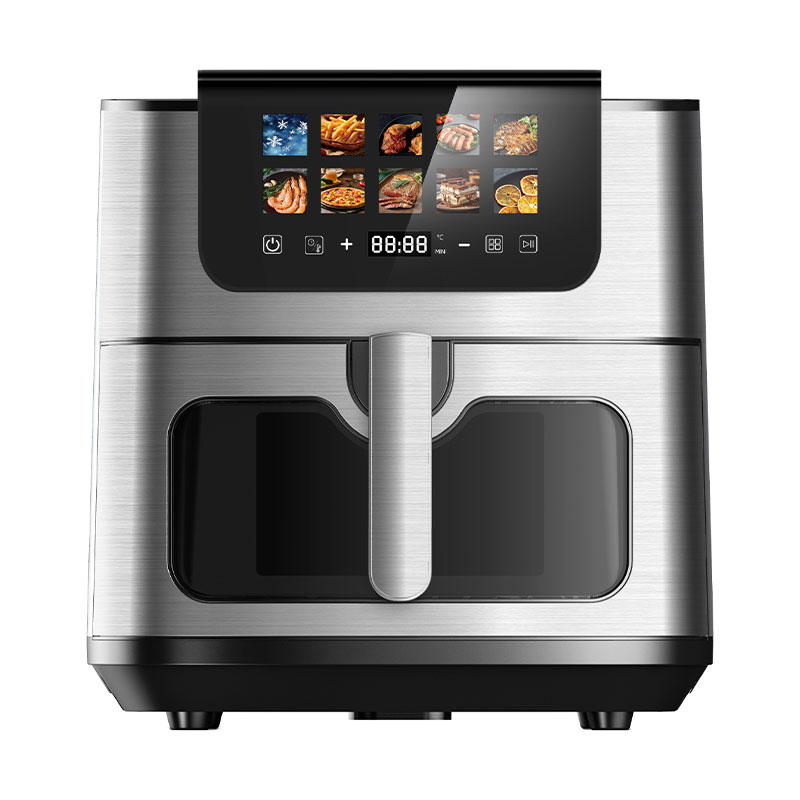
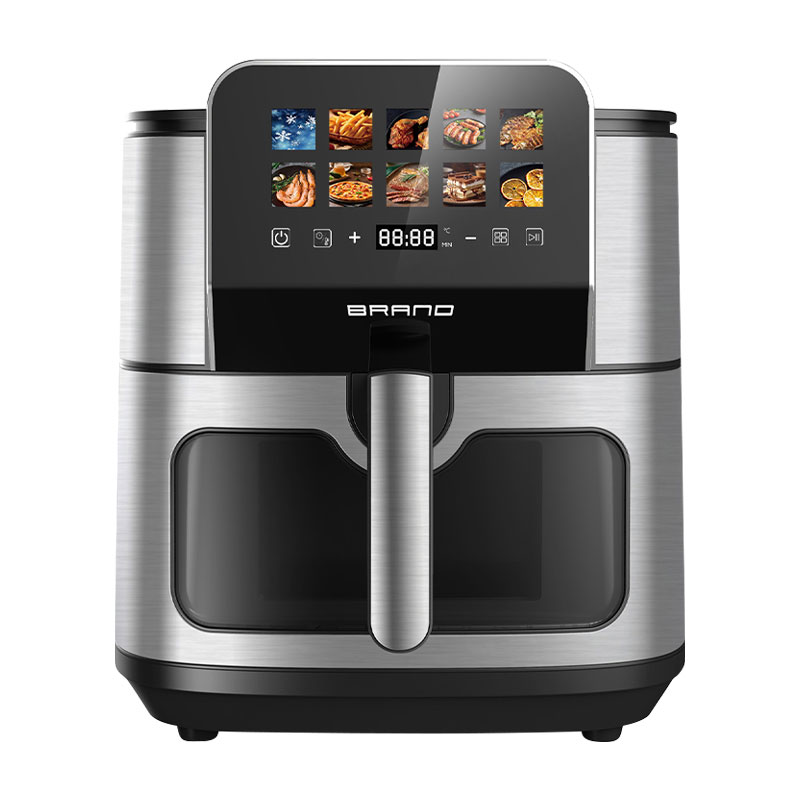
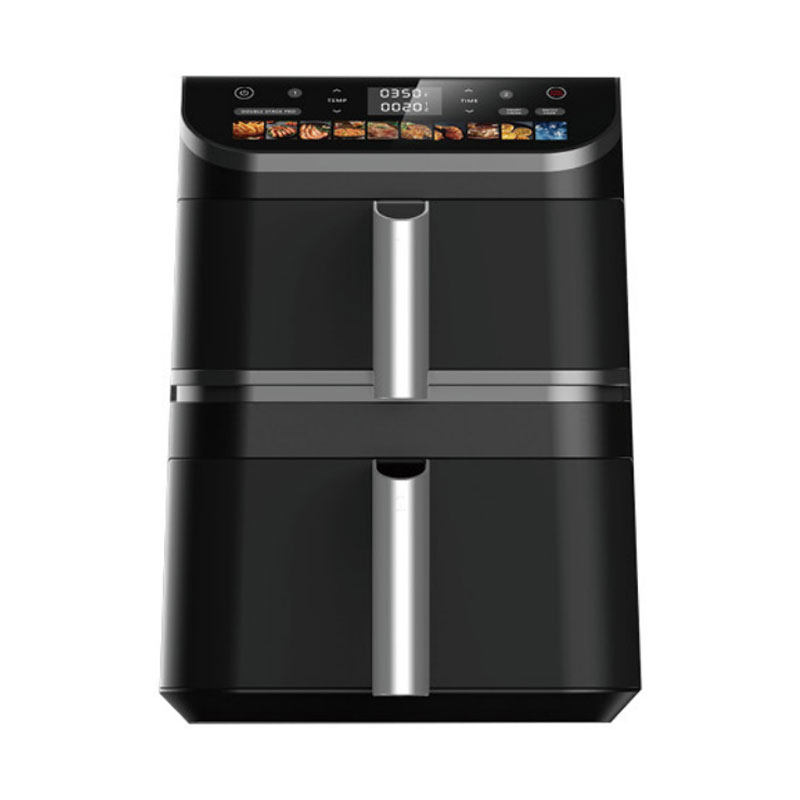
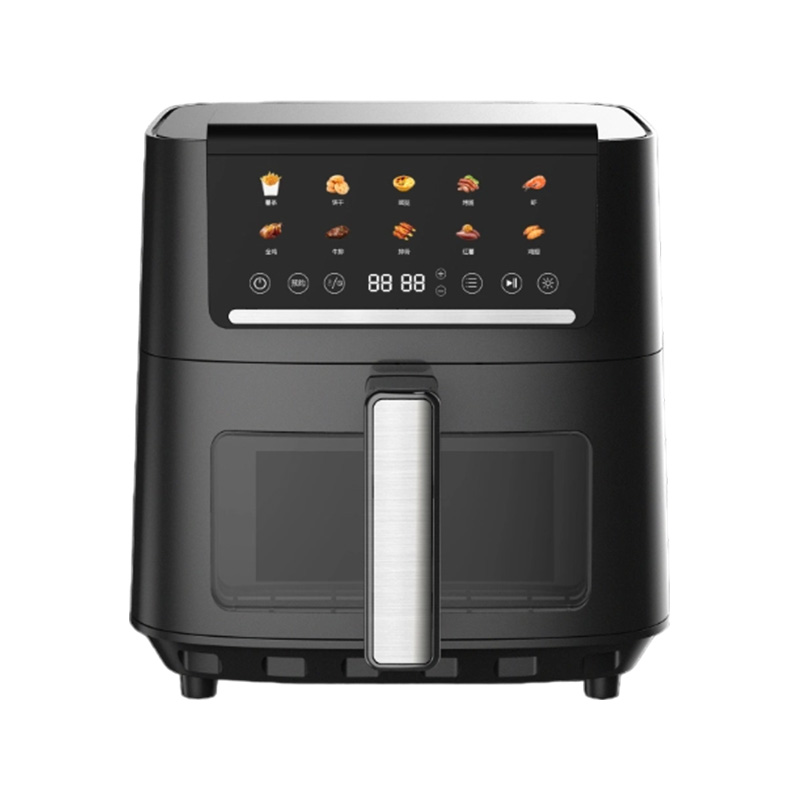
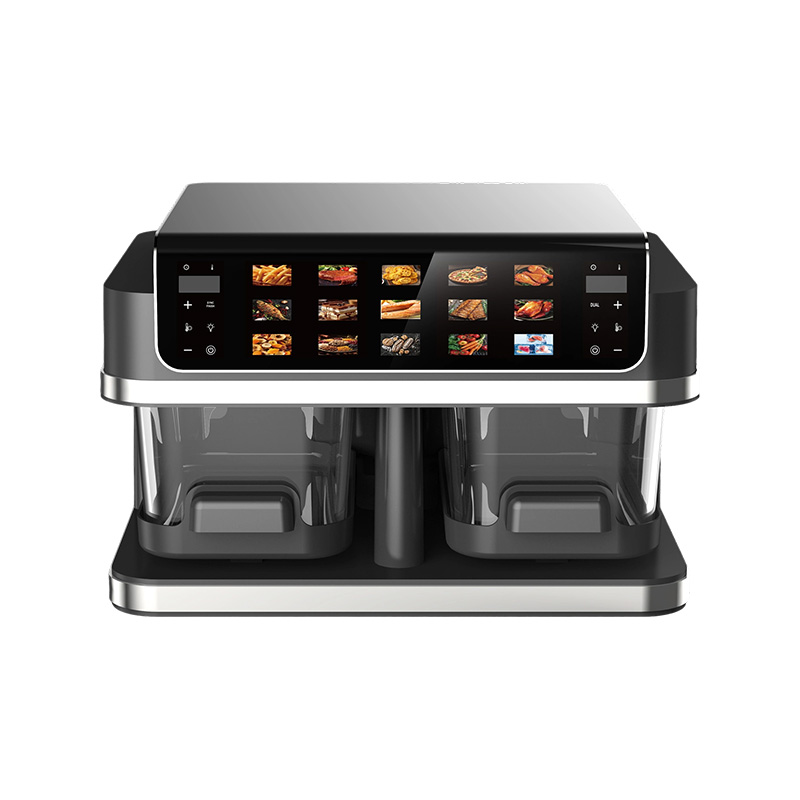
Comparing how different models lay out these controls is far easier on a dedicated range page — GSTAR's smart touch screen air fryer lineup makes it obvious which panels keep temperature on the first screen and which bury it three menus deep, a detail that matters every single time your hands are full.
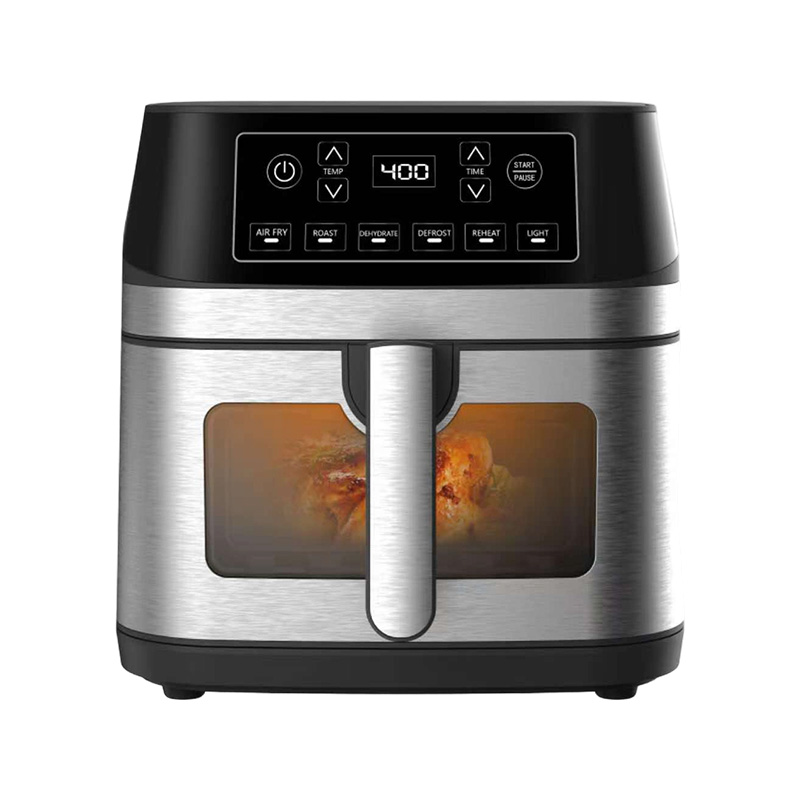
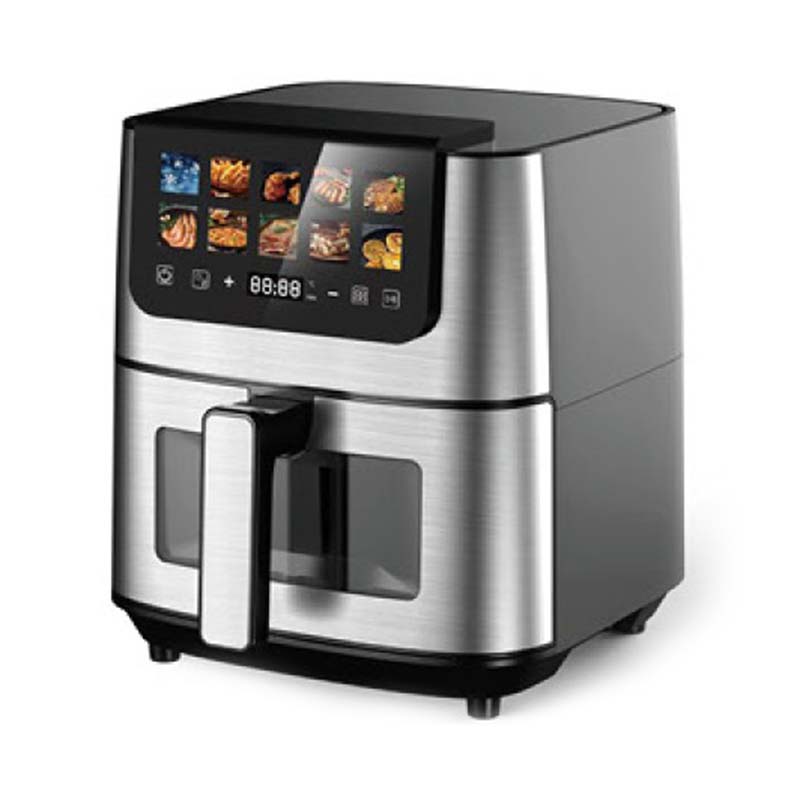 Top LCD Touch Control Large Capacity Air FryerIts large capacity and touch LCD panel make temperature and timer settings easy to compare at a glance, useful when choosing a panel that keeps key controls on the first screen.View Product →
When Knobs Still Beat Glass — and the Hybrid Answer
For part of the market, the touch screen is the wrong interface, and that is not a fringe opinion. In forums where cooks with low vision compare notes, dial models are often preferred precisely because glass offers no tactile feedback; as one participant put it, "the touch screen is difficult" and with two dials "you survive on memorization." Arthritis, tremors, and ordinary greasy hands push in the same direction — a roast is the worst possible moment to discover your panel will not register a press.
"The touch screen is difficult… with two dials, you survive on memorization." — a cook with low vision, in a dial-versus-touch discussion
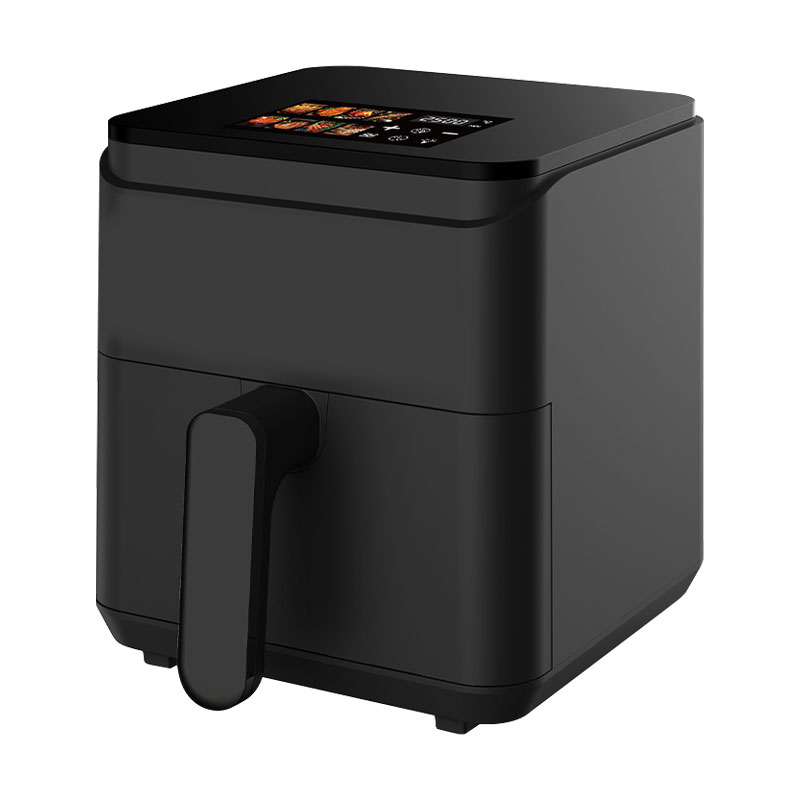
The industry's pragmatic answer is hybrid control: a physical knob for the decision you make most — temperature — paired with a touch and LCD layer for presets, timers, and reminders. You get tactile certainty for the setting that decides the roast, and the legibility of a screen for everything around it. Models like the 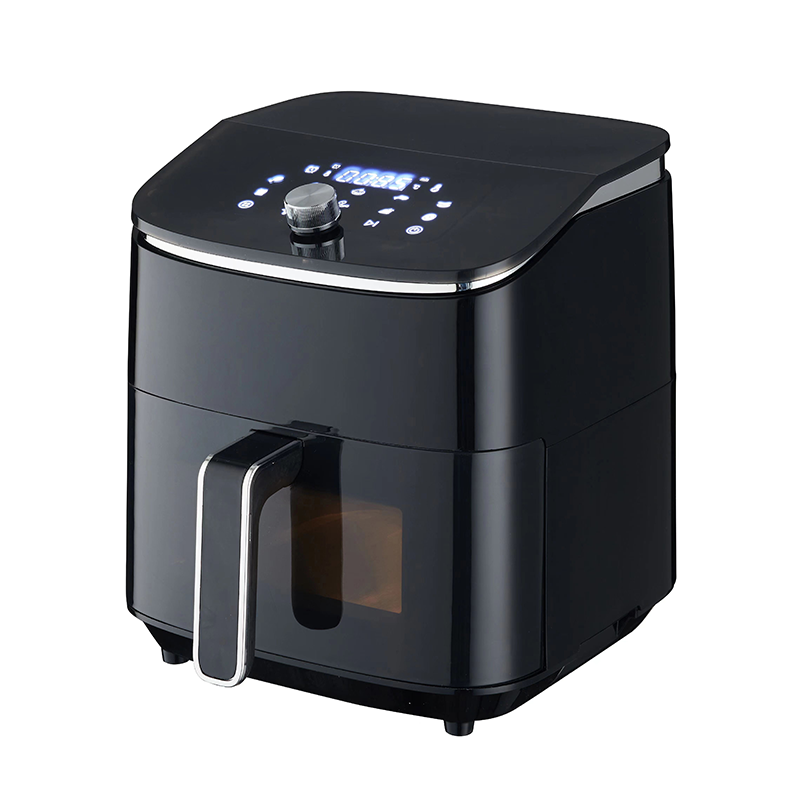 Bevel Single-Knob Air Fryer with LCD Touch DisplayCombining a tactile temperature knob with an LCD touch layer, this 6L hybrid-control model offers precise adjustments and presets, suiting mixed households that want repeatability for weekly roasting.View Product → follow exactly that logic, and they tend to age better in mixed households.
Danger: Never judge doneness by the preset name or the color of the skin. Poultry must reach 165°F (74°C) at the breast — undercooked chicken is the one roasting mistake with real health stakes, and no display setting can verify it for you.
The Bottom Line
A touch screen will not rescue a weak heating element, and a dial will not ruin a good roast. What the panel buys you is repeatability: exact 5°F steps, a staged sear-and-finish plan in one run, mid-cook adjustments that do not vent the oven, and a visible record of what you actually cooked last Sunday. If you roast weekly — chicken on Sunday, vegetables on Wednesday — that repeatability is worth paying for.
Buy the cabinet first: a 400°F ceiling, a tracked preheat, a window, and a basket that fits the roasts you actually make. Then choose the interface that fits the hands in your kitchen — pure touch if you like the clean panel, a knob-plus-touch hybrid when anyone in the house needs tactile control. And keep an instant-read thermometer beside the fryer. The one setting that decides the meal, core temperature, is still yours to check.